The Planner is a week view of planned work orders and has various filters and tools to help with scheduling.
The planner will automatically open to the current week. To filter to a different week, use the date picker located at the top of the page.
To expand or minimize a day, hover over the numerical date at the top of the calendar to click +/- (expand/collapse). Work orders can be searched for in the Week Planner by using a customer's name in the 'Search Planned Work Order' Box. Click the filter to the right of the search field to access the Advanced Search options. Planned work orders can be filtered based upon charge type, invoice type, work order status, or various items included in the work order.
To filter the work orders visible in the Week Planner by a Department or Crew, click the All Departments/Crews menu from the top right corner of the page. Select the desired departments and crews to view and Apply the settings. Clicking on a Department Header will automatically select all crews within that department. To clear the filter, re-select the Departments/Crews drop down menu and click the red X at the top of the menu.
Additional Work Orders
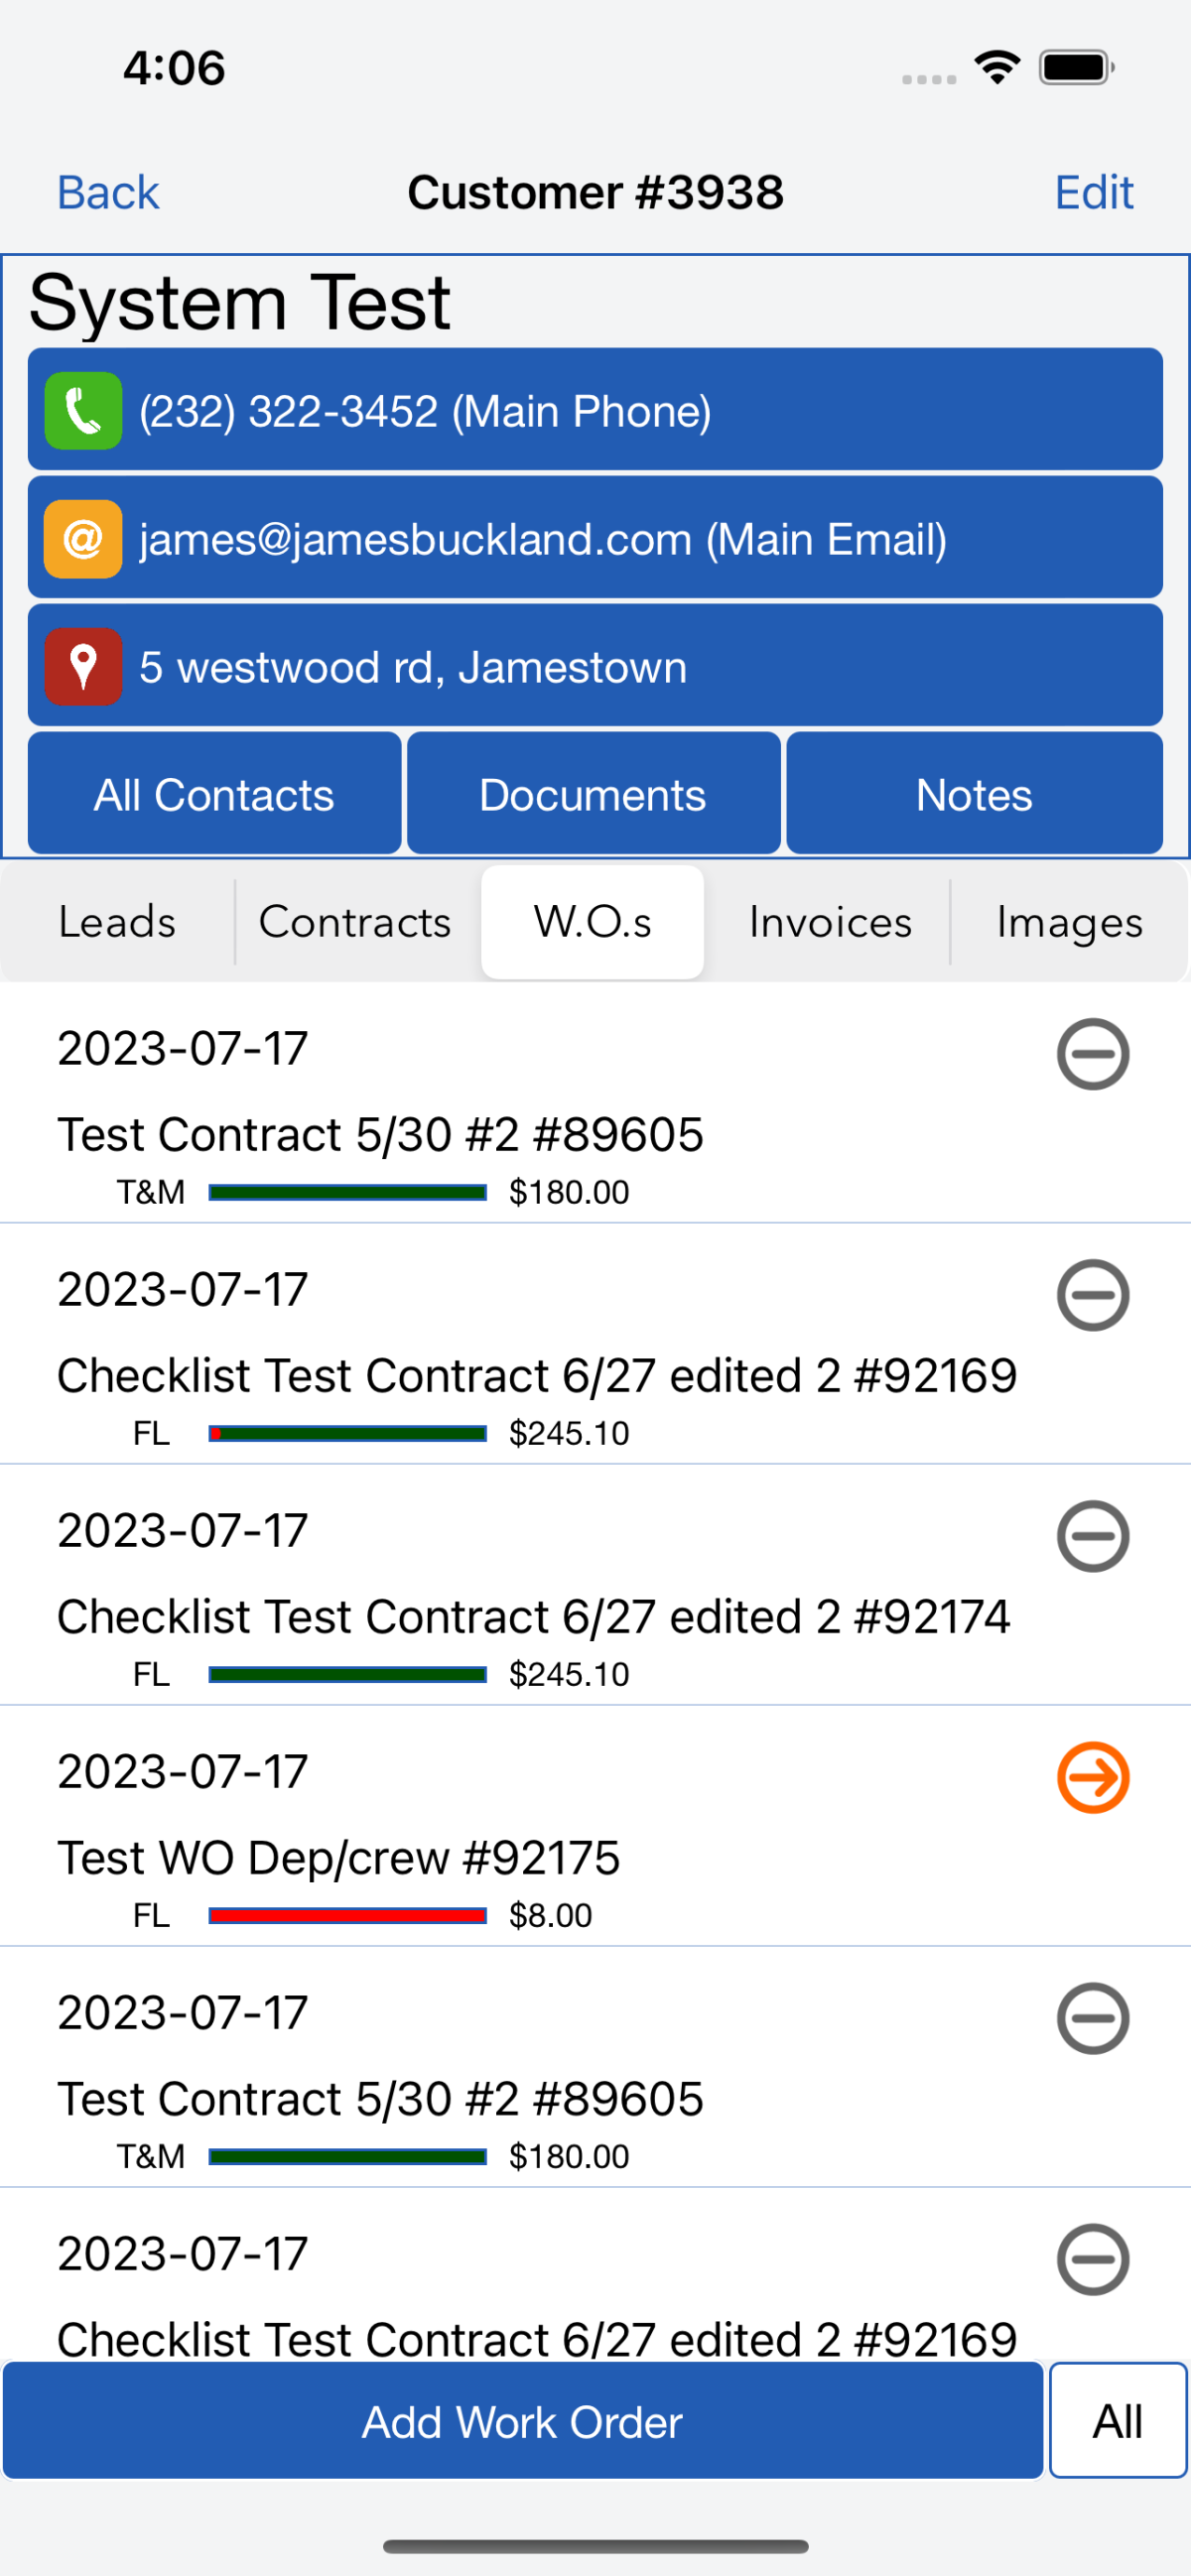
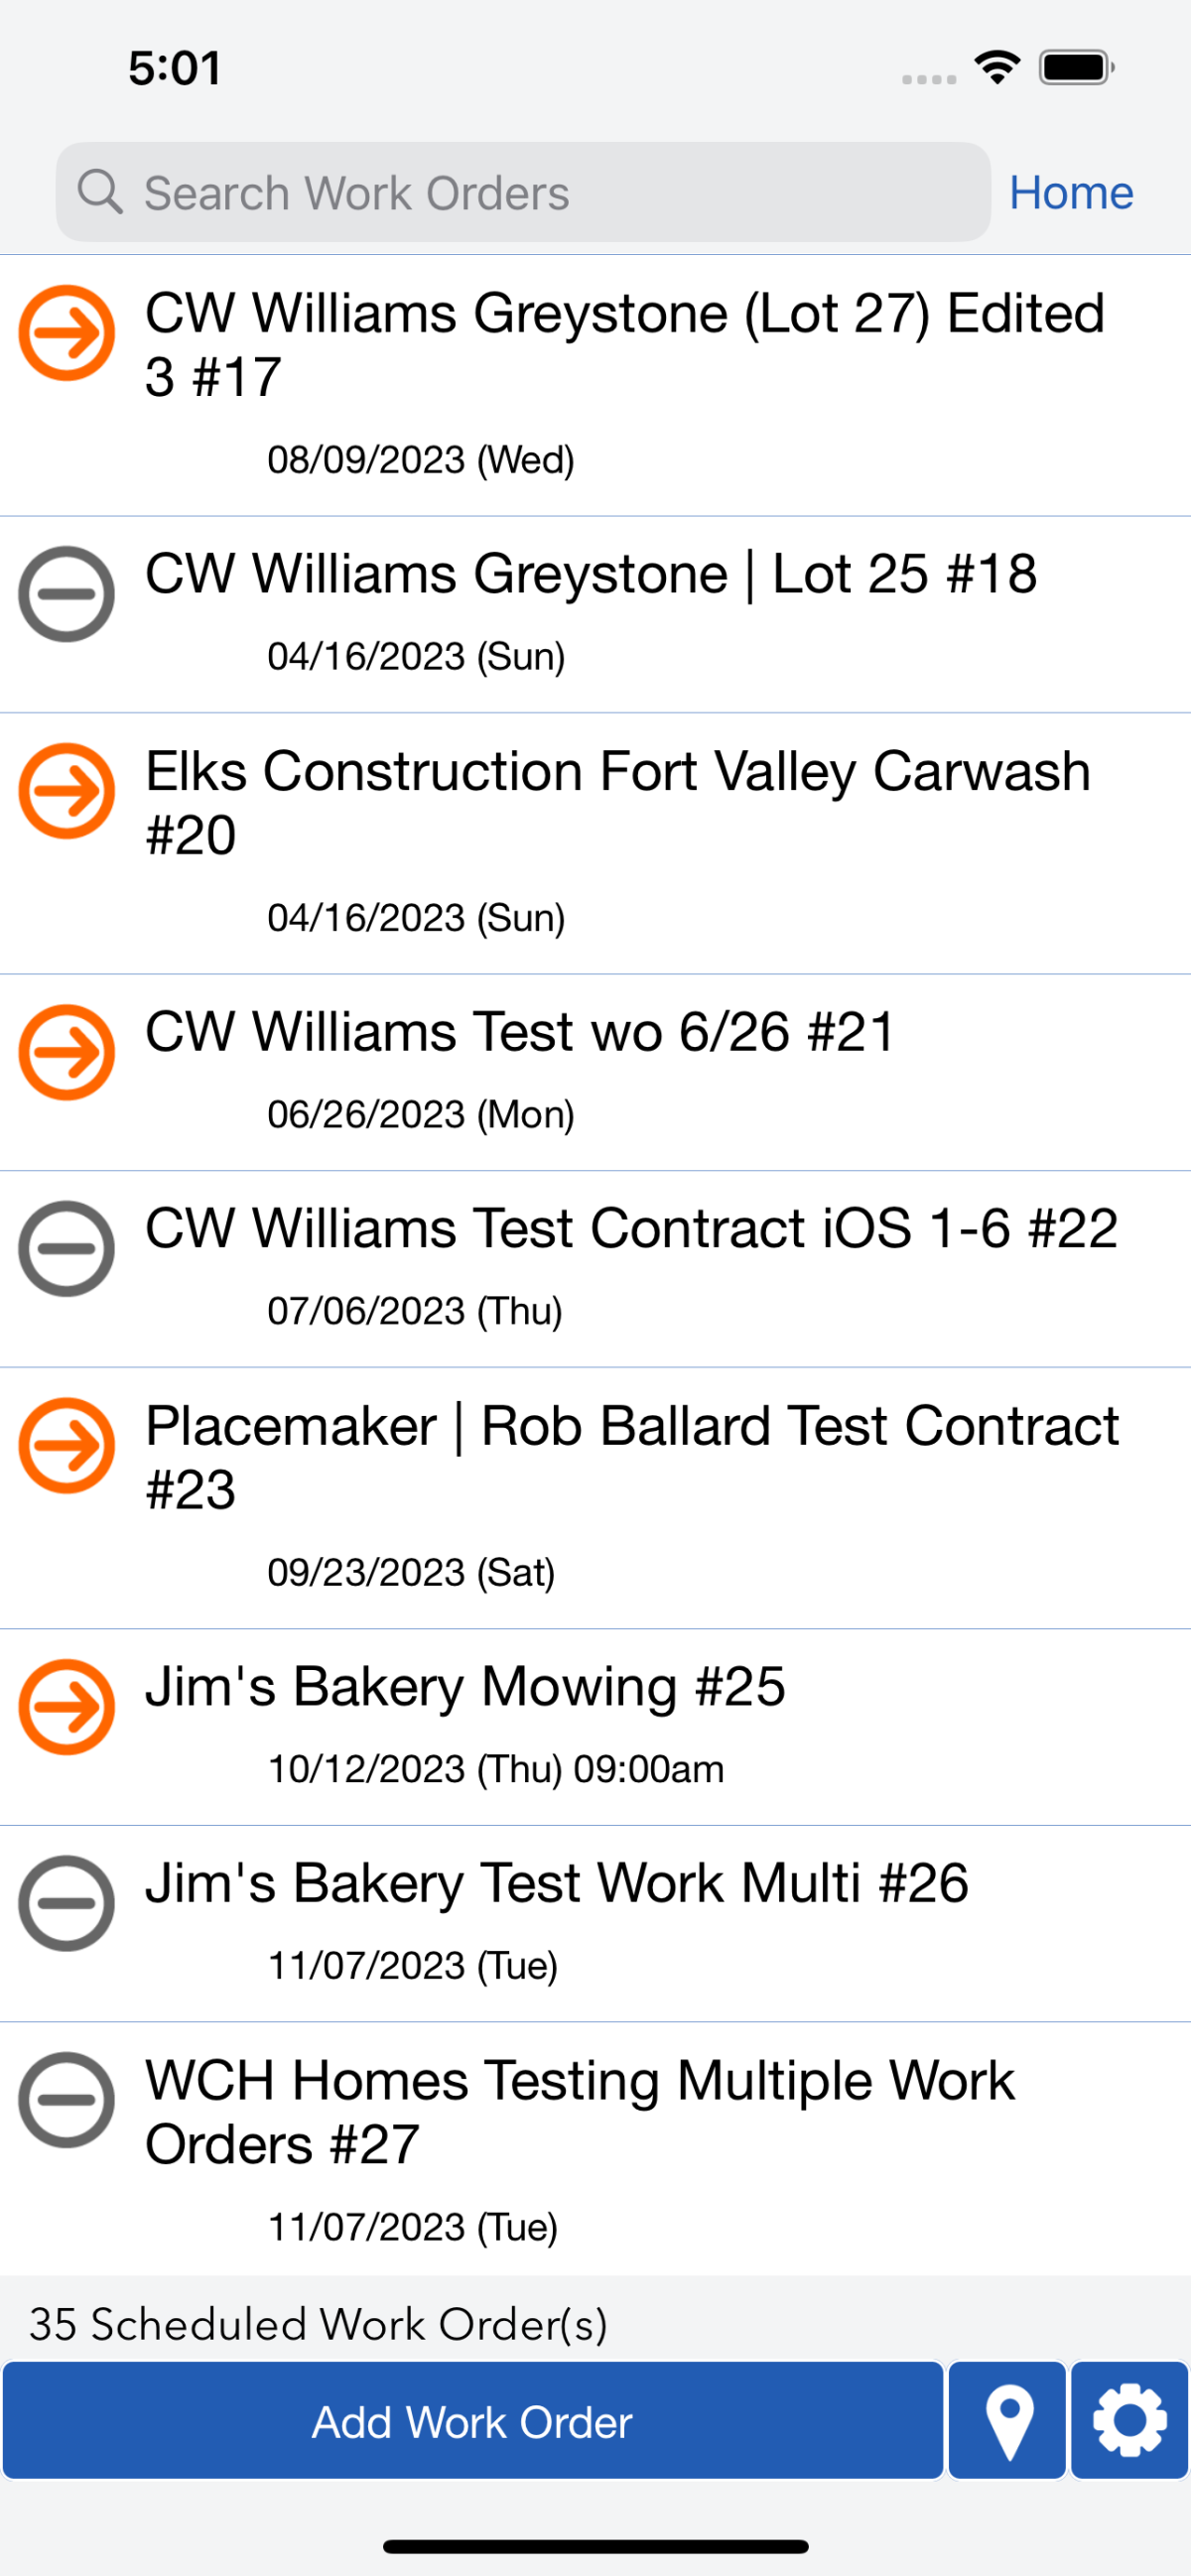
All work orders that are not scheduled for the filtered week in the Planner are listed as Additional Work Orders on the left side of the page. Work orders with an In Progress status are listed in the upper box and those with an Not Started status are listed below; all are organized by work order age.
Additional Work Orders can be filtered by name, department/crew and various other advanced settings using the search fields located at the top of the section.
For scheduling purposes, Additional Work Orders with existing planned dates can be hidden from this list. Click 'Hide/Show Scheduled,' located directly under the headers In Progress and Unstarted Work Orders. Recurring work orders can additionally be hidden.
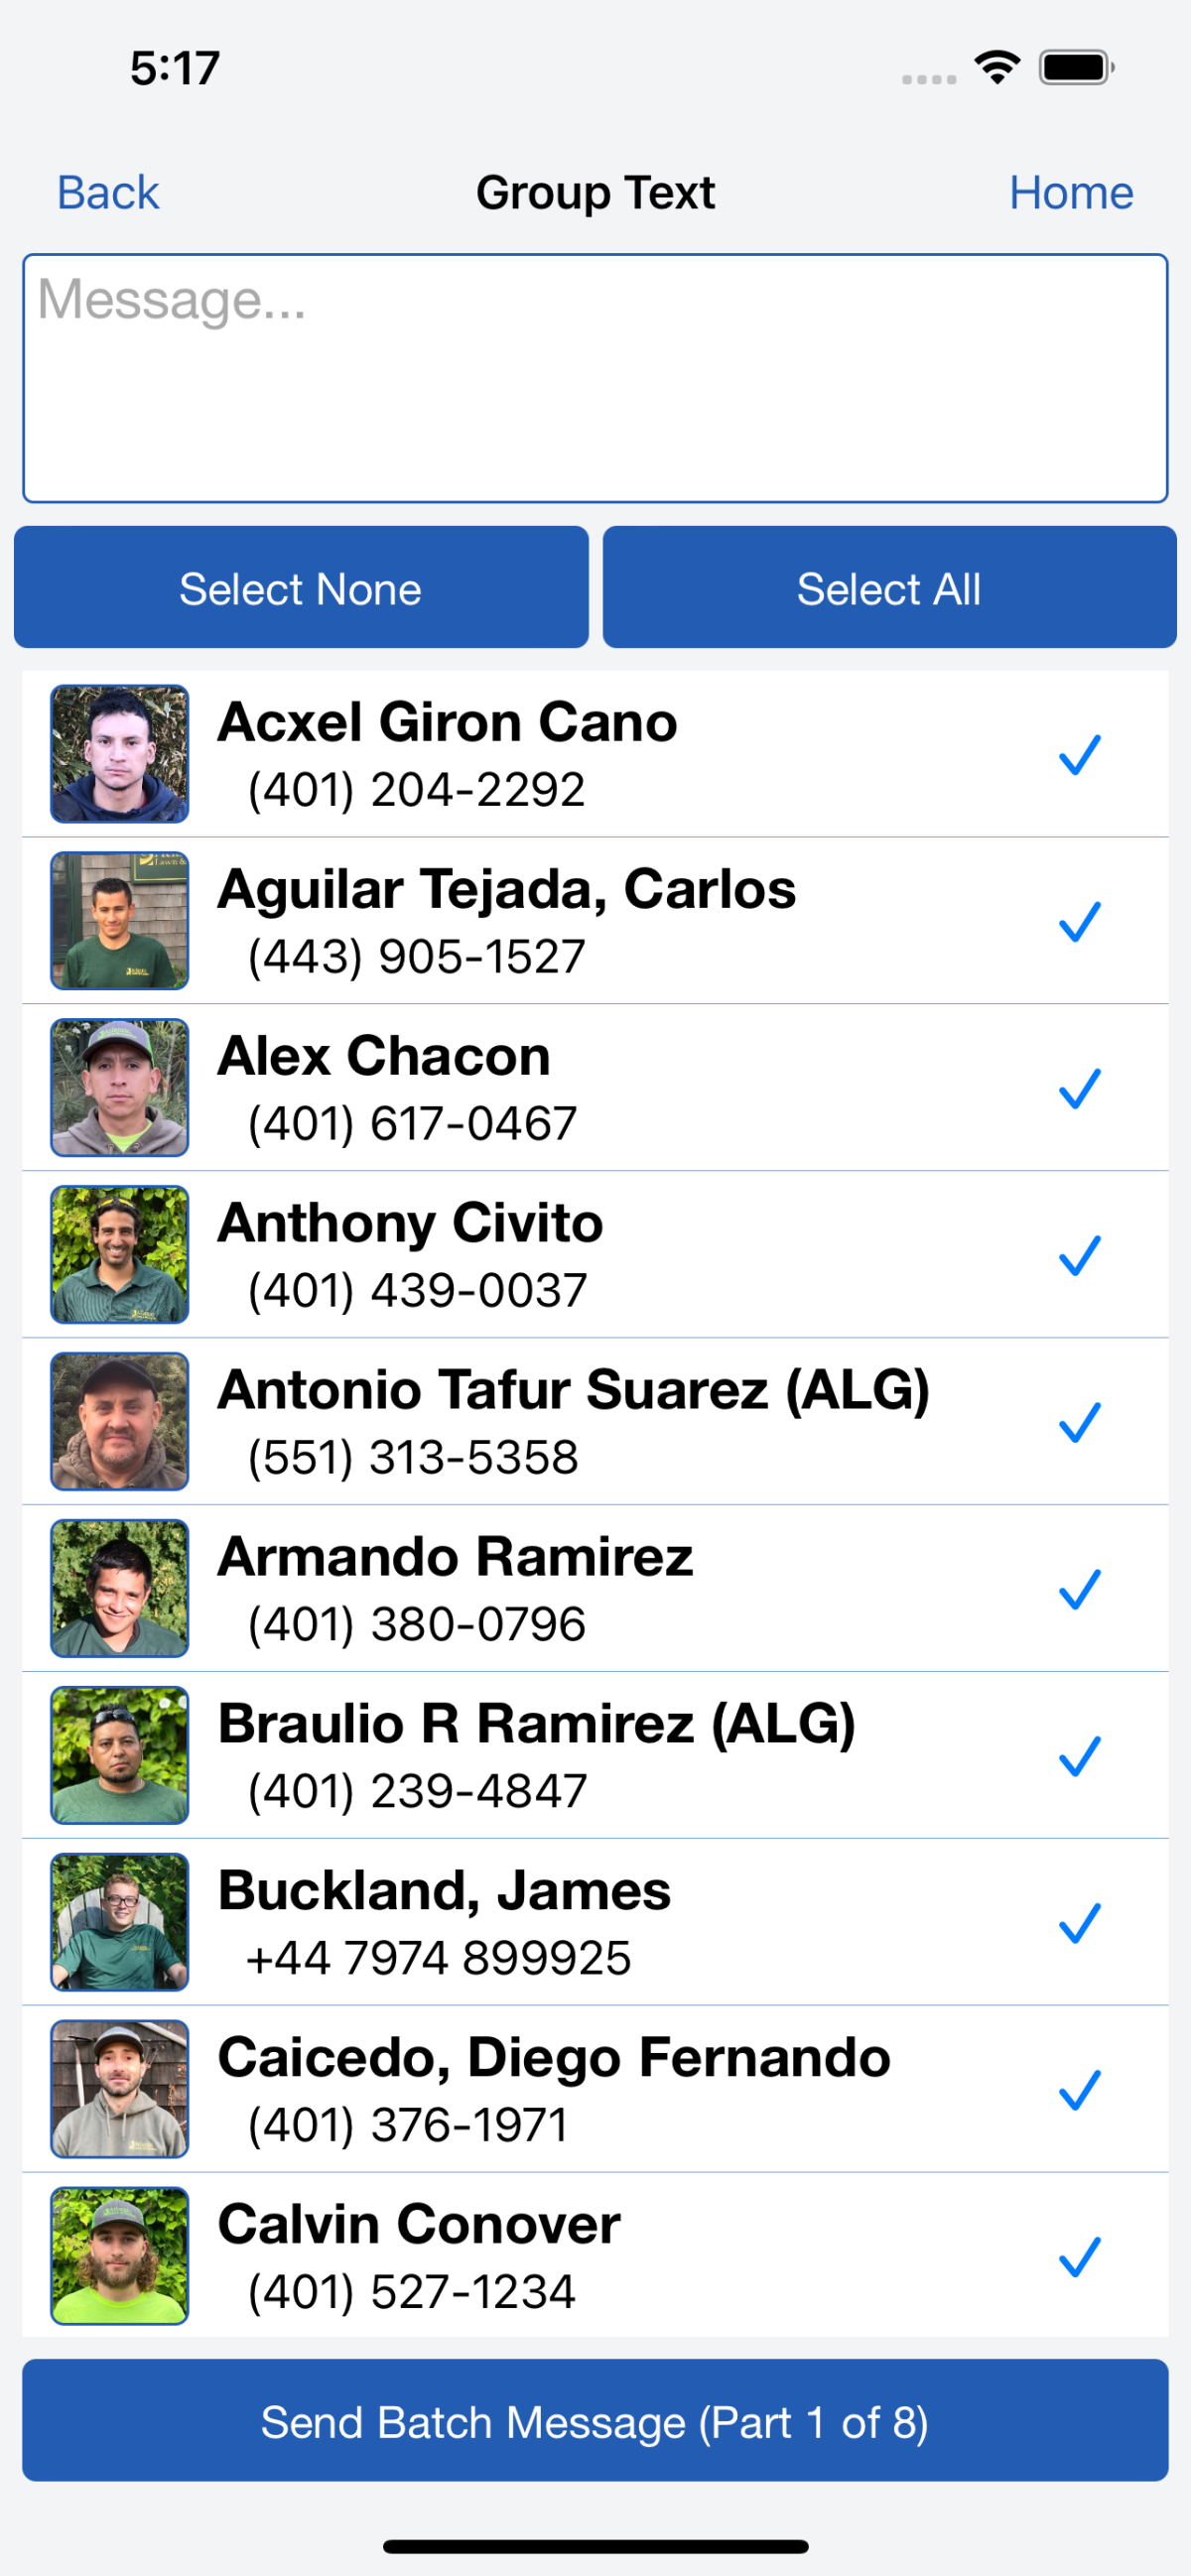
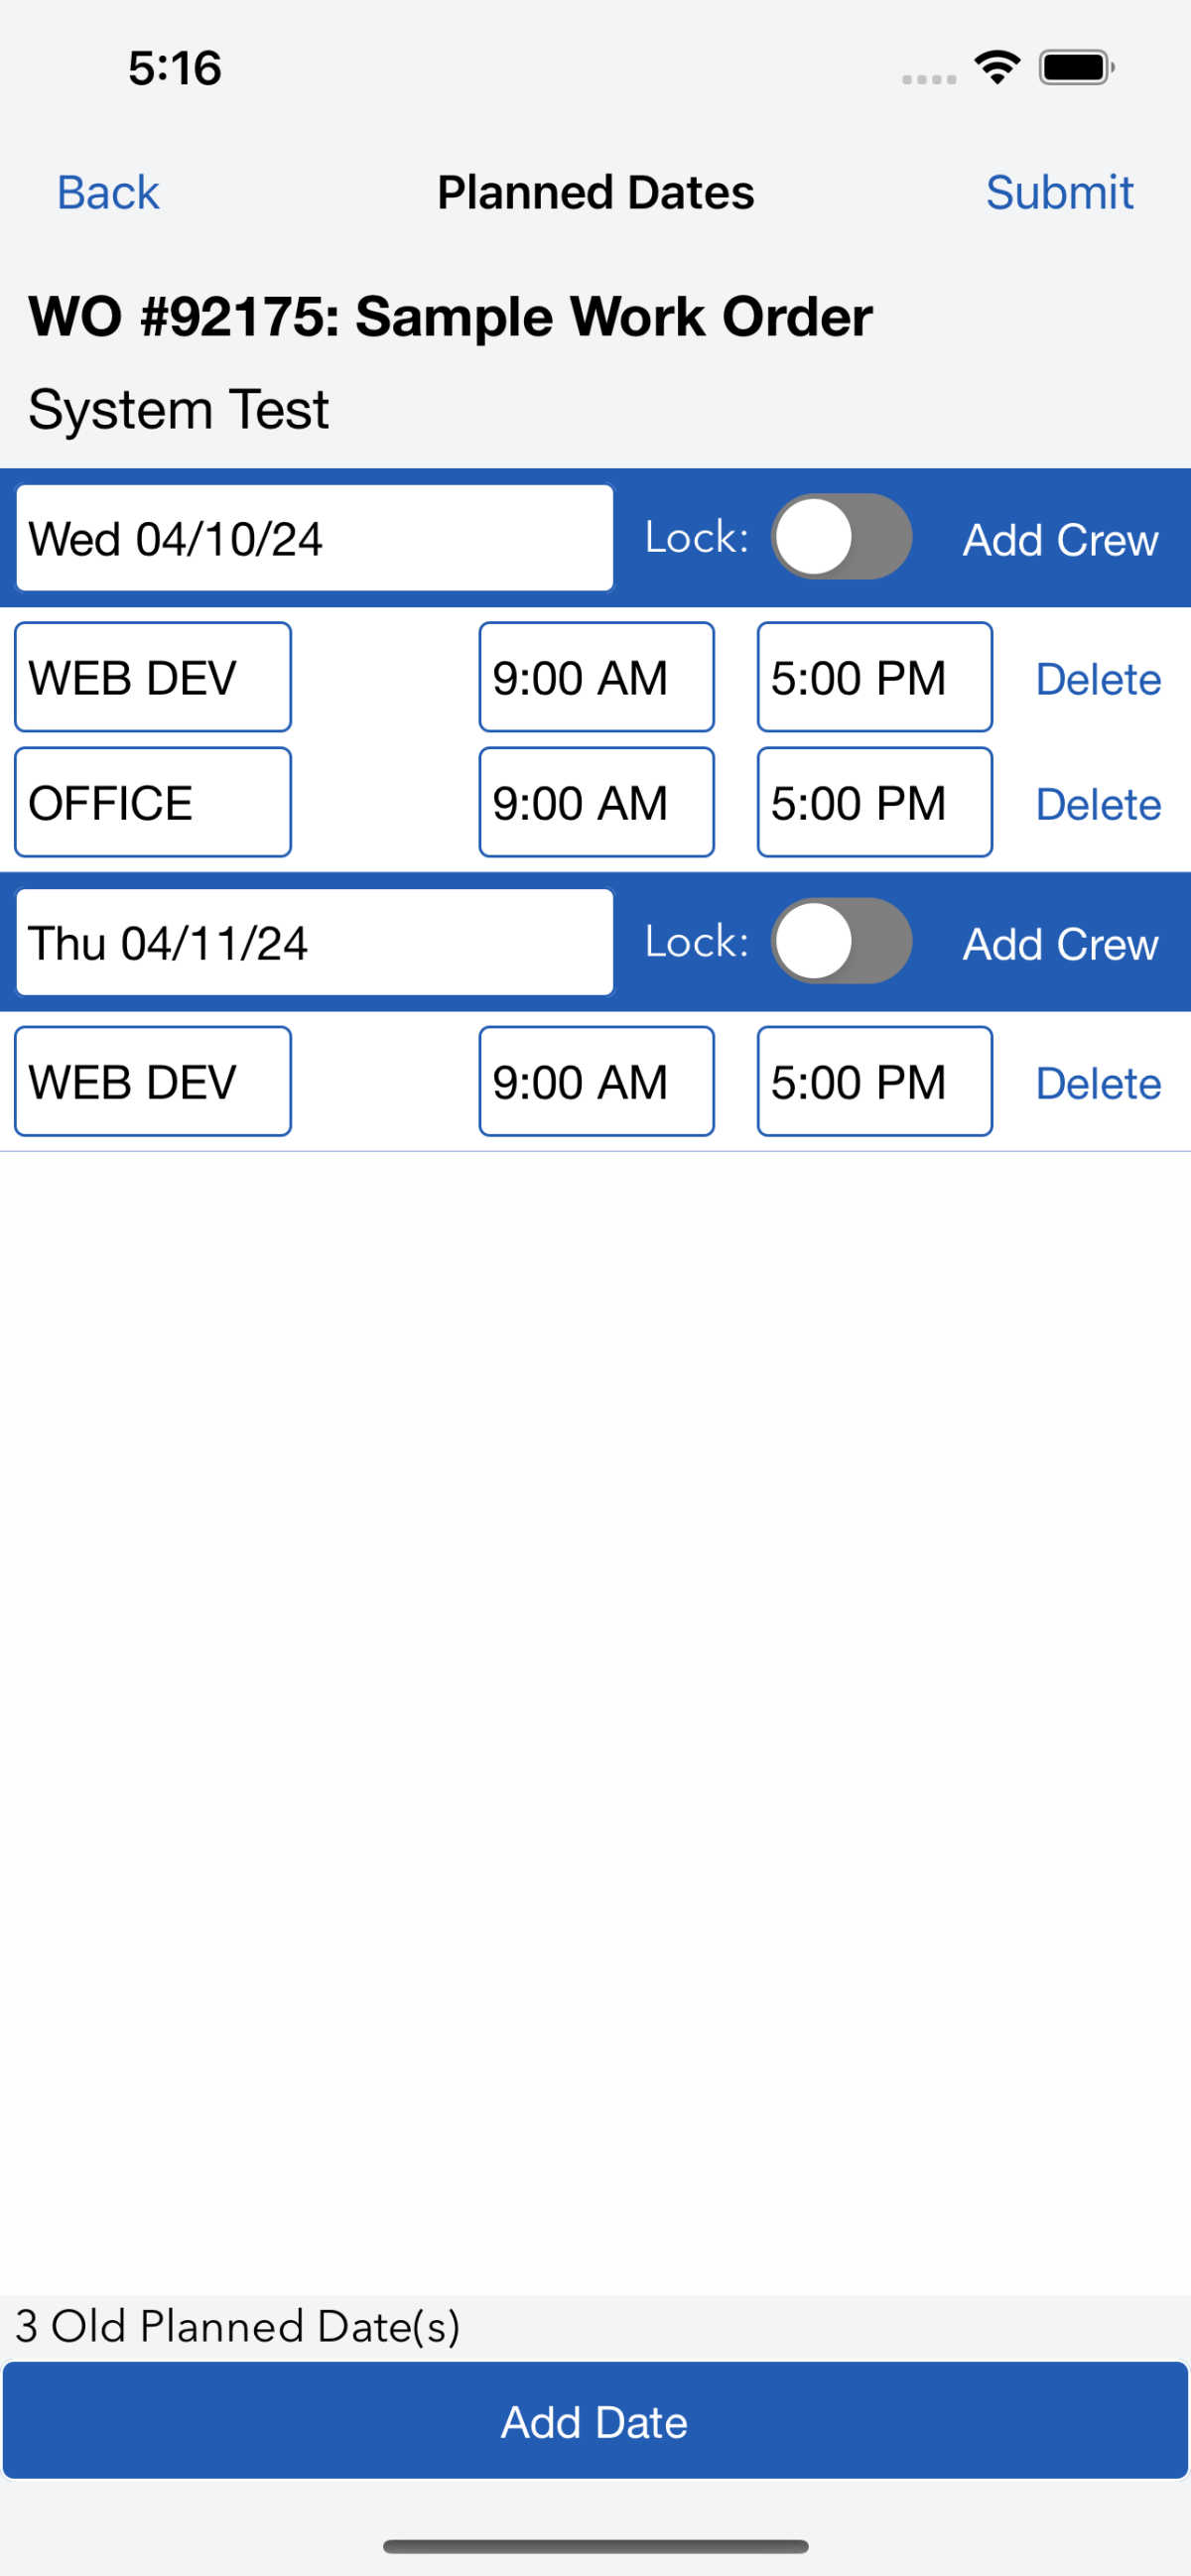
Work orders can be selected individually or in multiples to be edited or added to a scheduled day in the current week's planner. Select the work orders to be edited by checking off the box in the work order's log. Open the Edit Selected Work Orders menu from the bottom left corner of the Planner Page. Work order sales rep, primary department, main crew assignment, planned date information and status can be edited from here. Multiple work orders can also be selected at once to be printed.
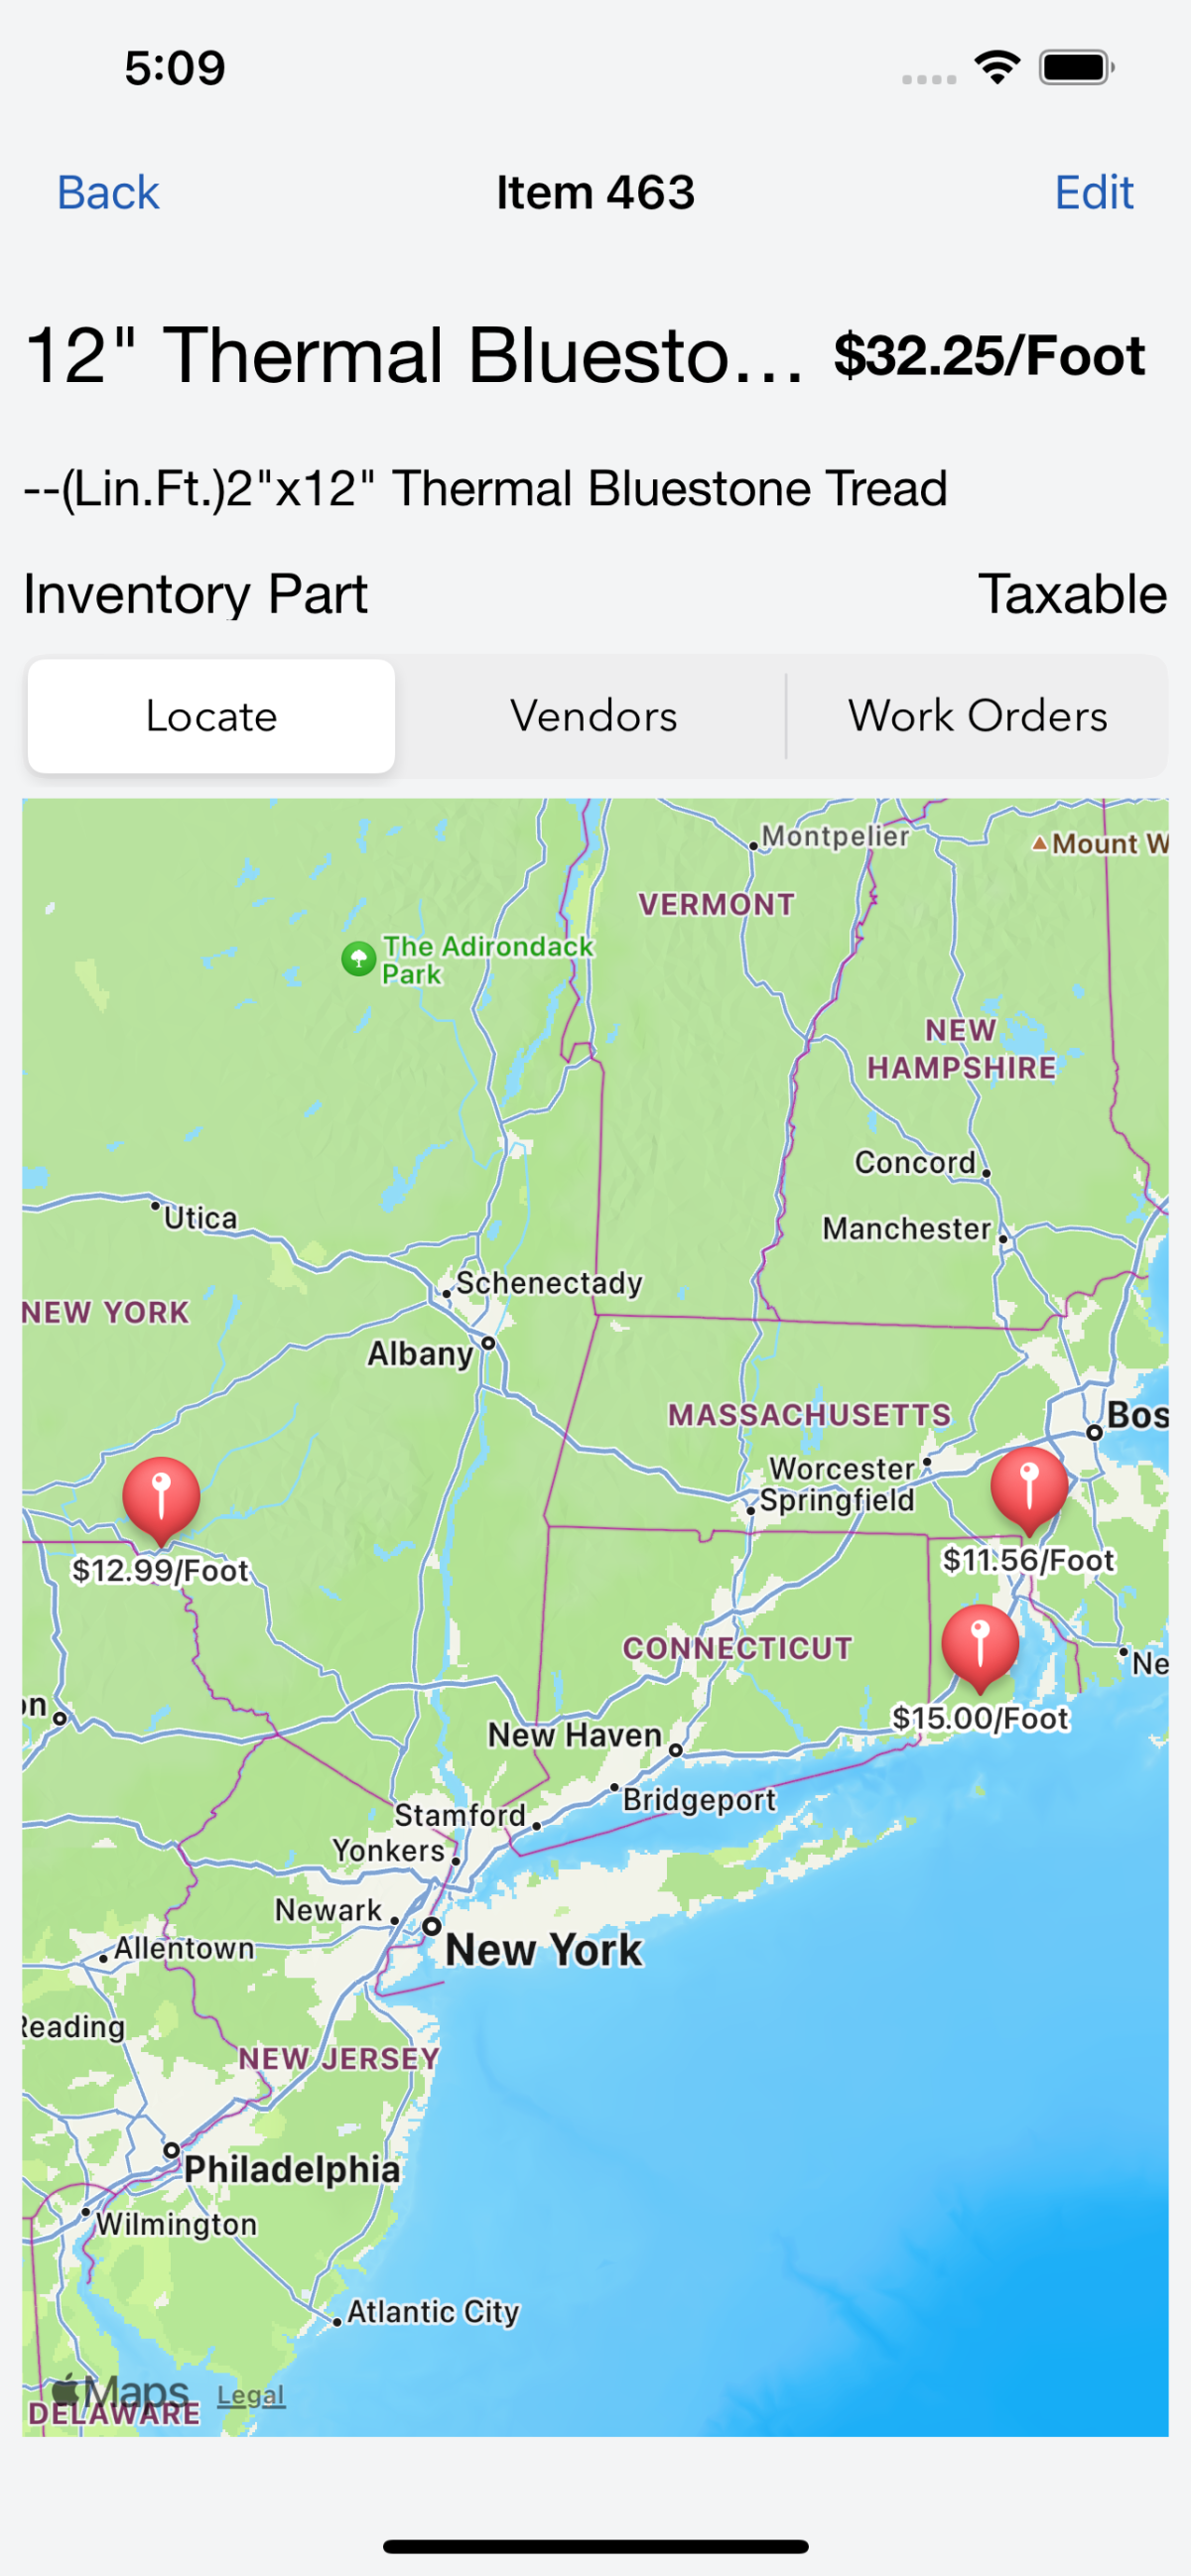
You can view work orders on a map by selecting Show On Map from the top right corner of the page. The map view will automatically open with all active work orders plotted. The visible work orders can be edited using the tools at the bottom of the map:
- Planned: All work orders with a planned schedule date in the filtered week
- Additional: Includes all other active work orders without a planned schedule date in the filtered week
- Unstarted: Work orders with a status of Not Started
- In Progress: Work orders with a status of In Progress
- Finished: Work orders with a status of Finished
- Cancelled: Work orders with a status of Canceled
- Pin Color: Filter work order pins on the map by department color, or crew subcolor. Colors can be chosen in the Department & Crews page.
- Select Mode: Select work order pins to edit work order sales rep, primary department, main crew, edit planned schedule dates or status. To edit, select the various work order pins on the map and choose an option from the Edit Selected Work Orders menu on the bottom left corner of the page.


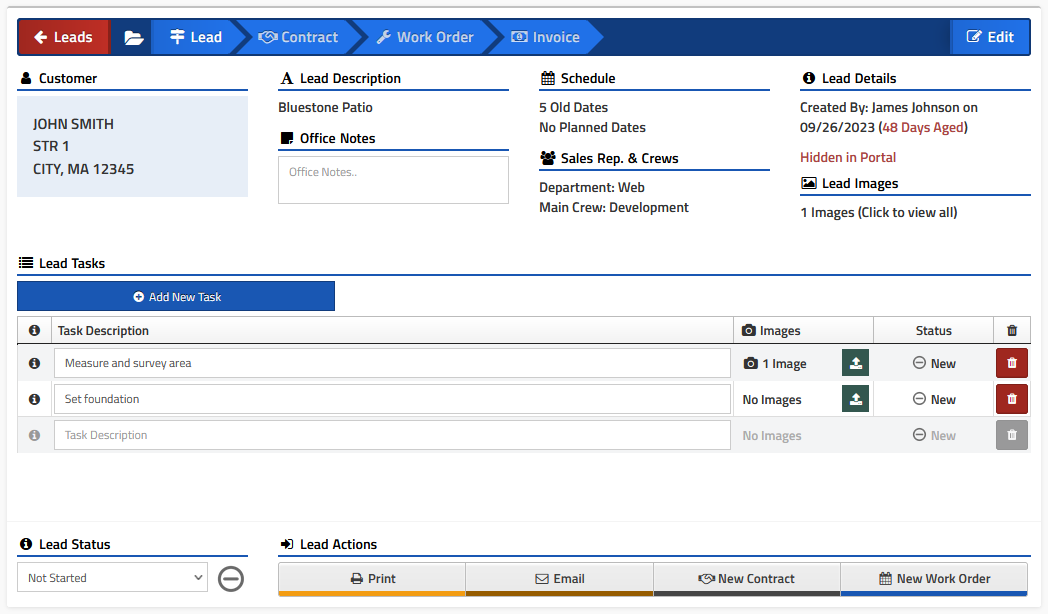

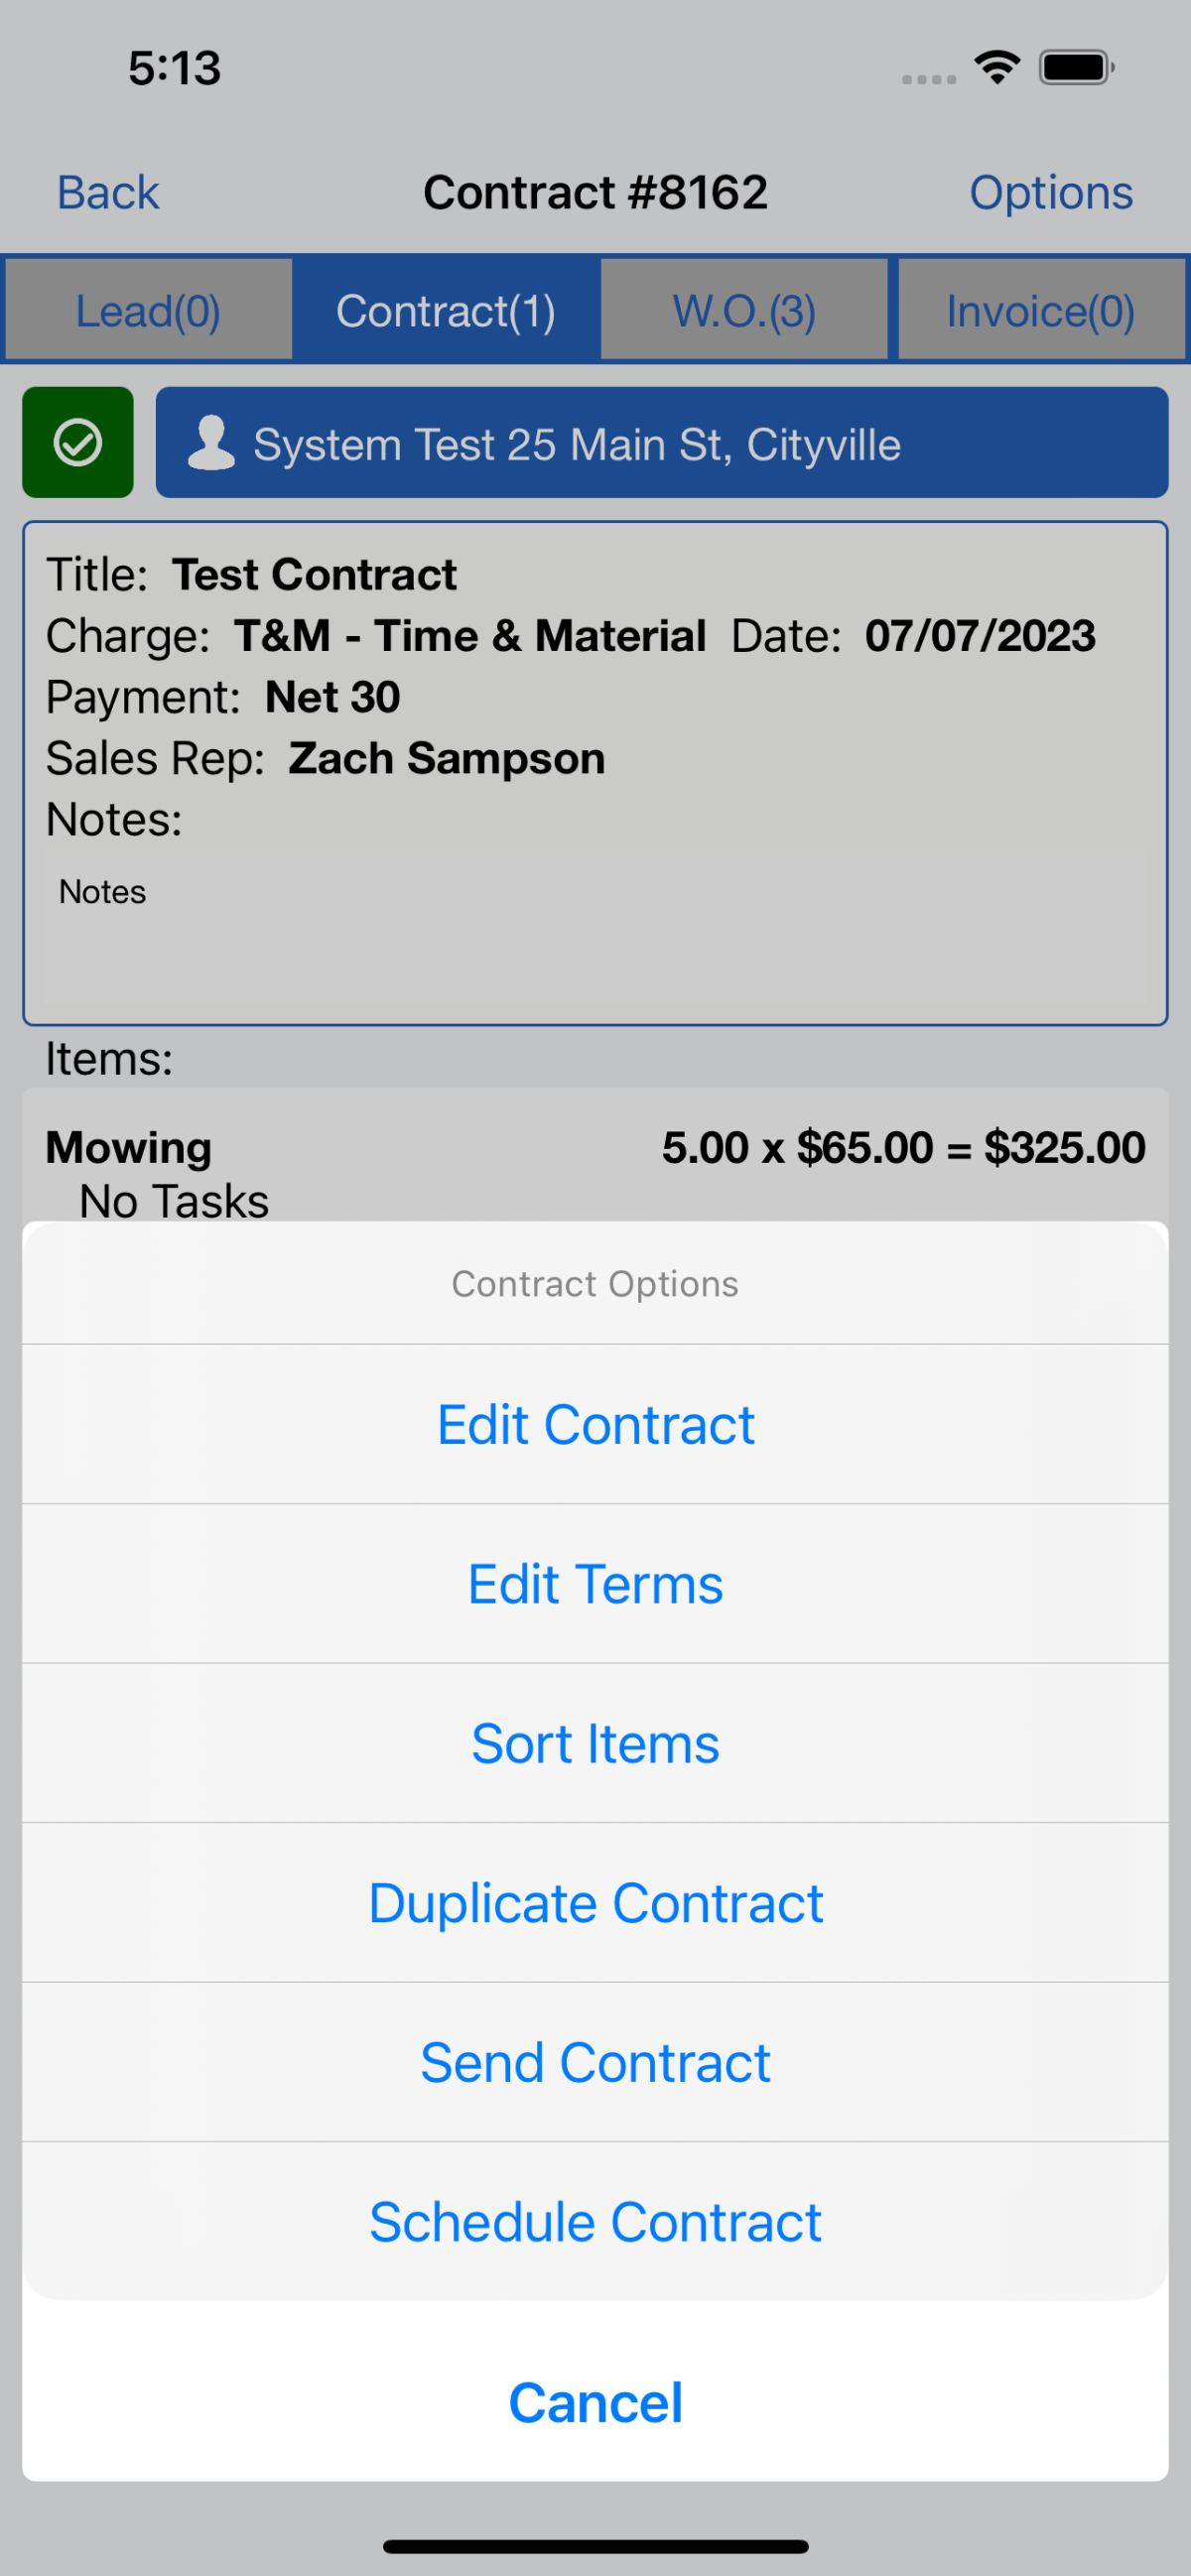
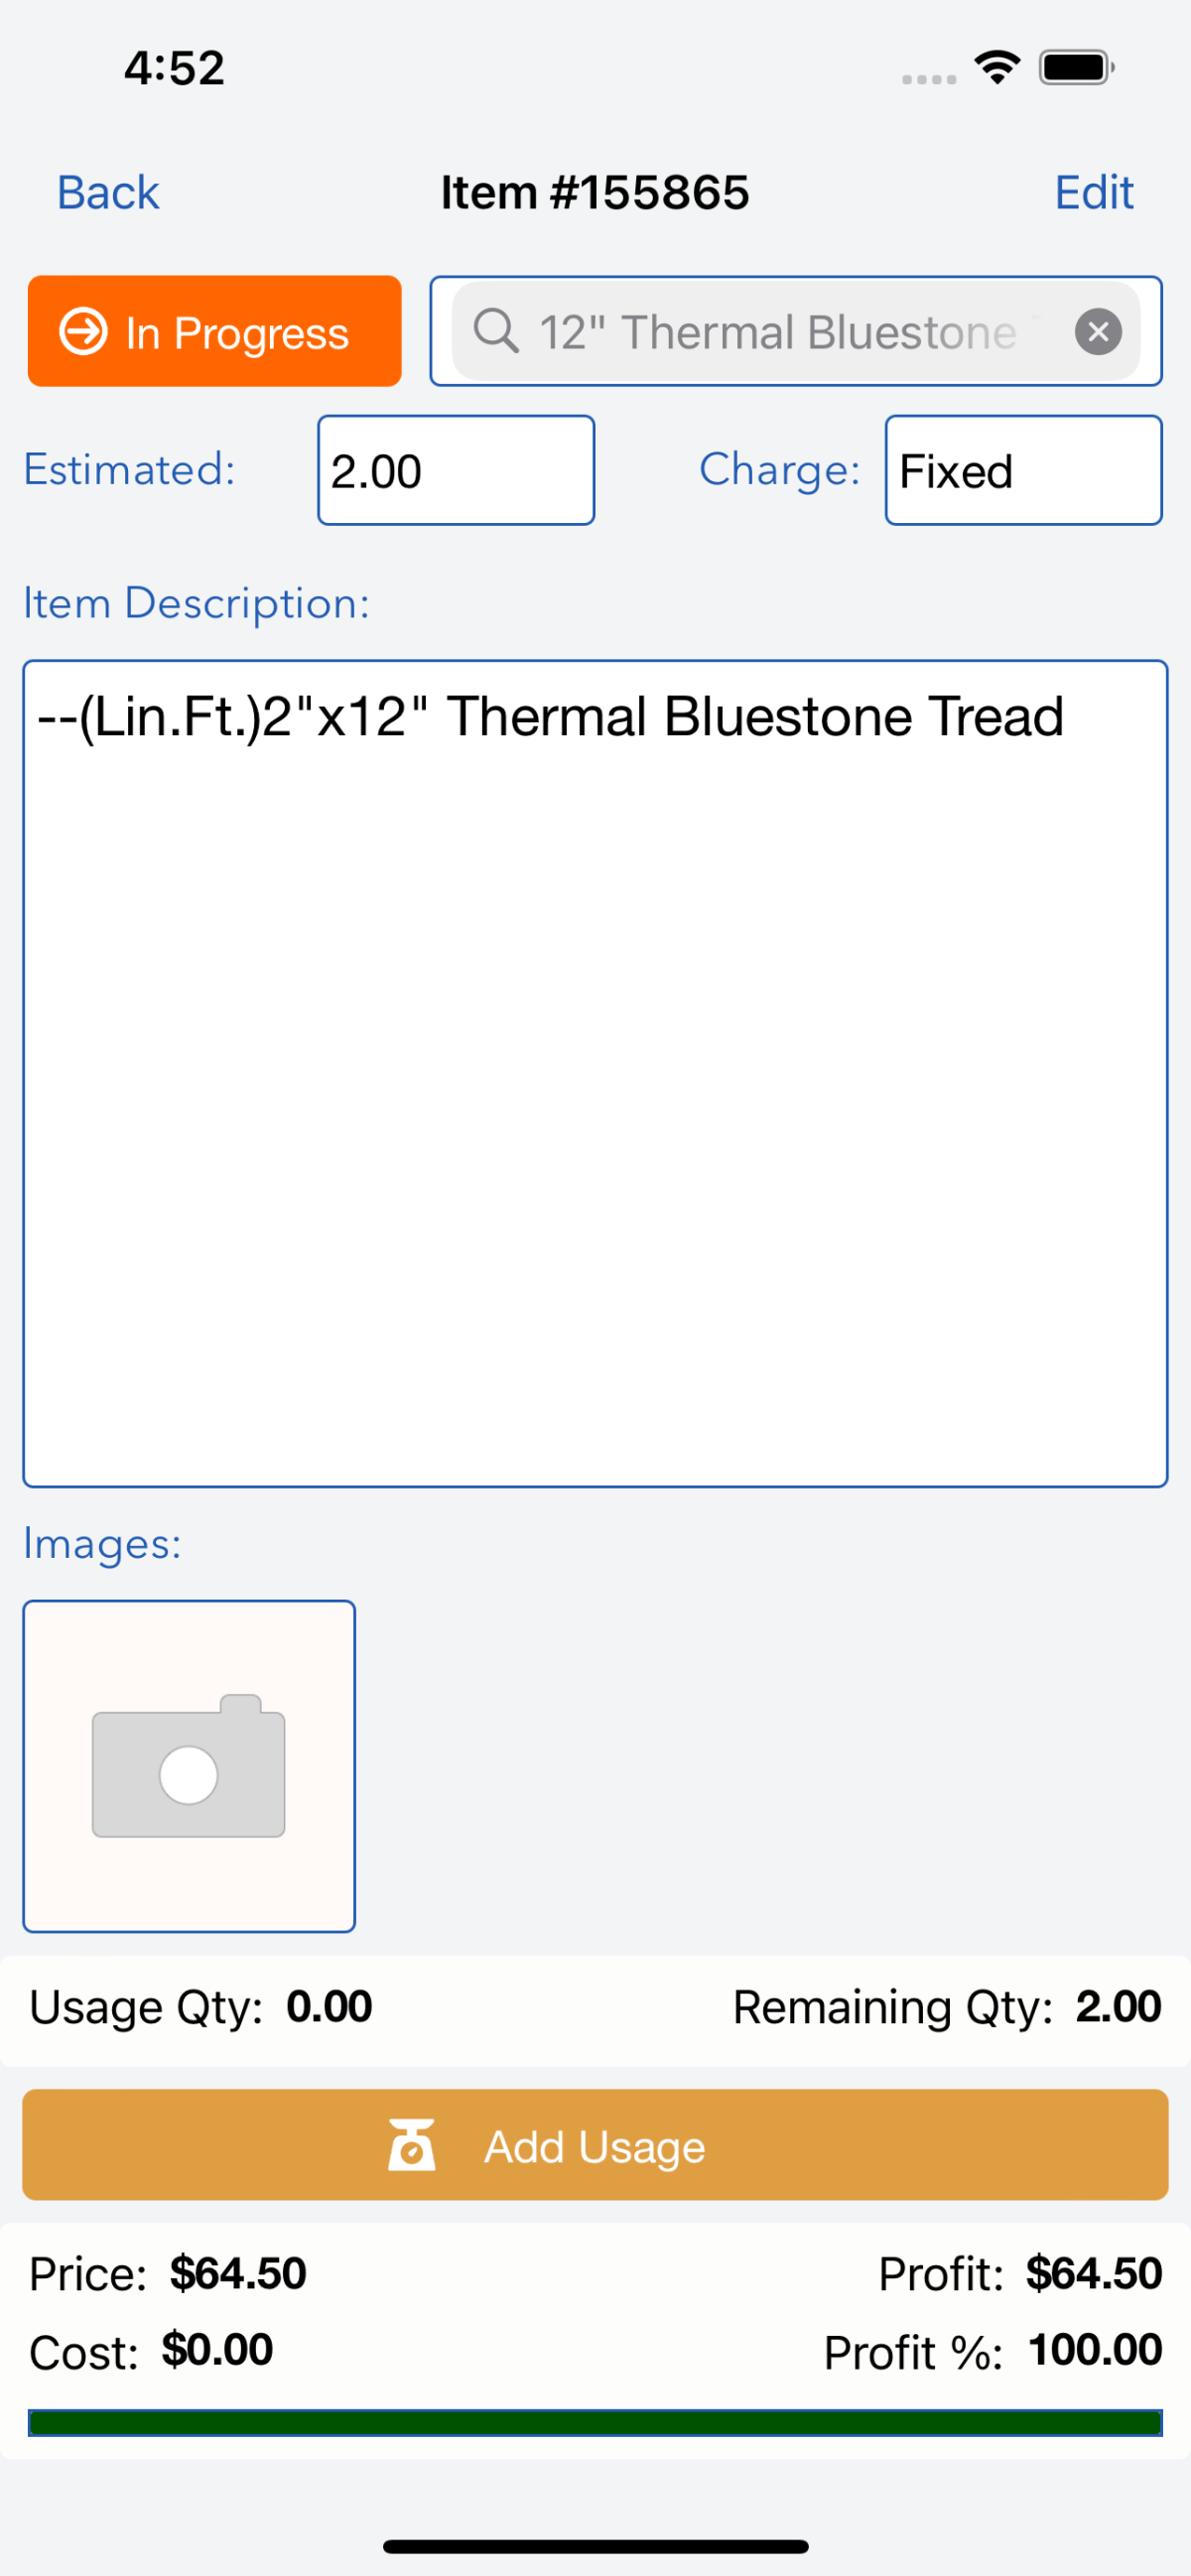
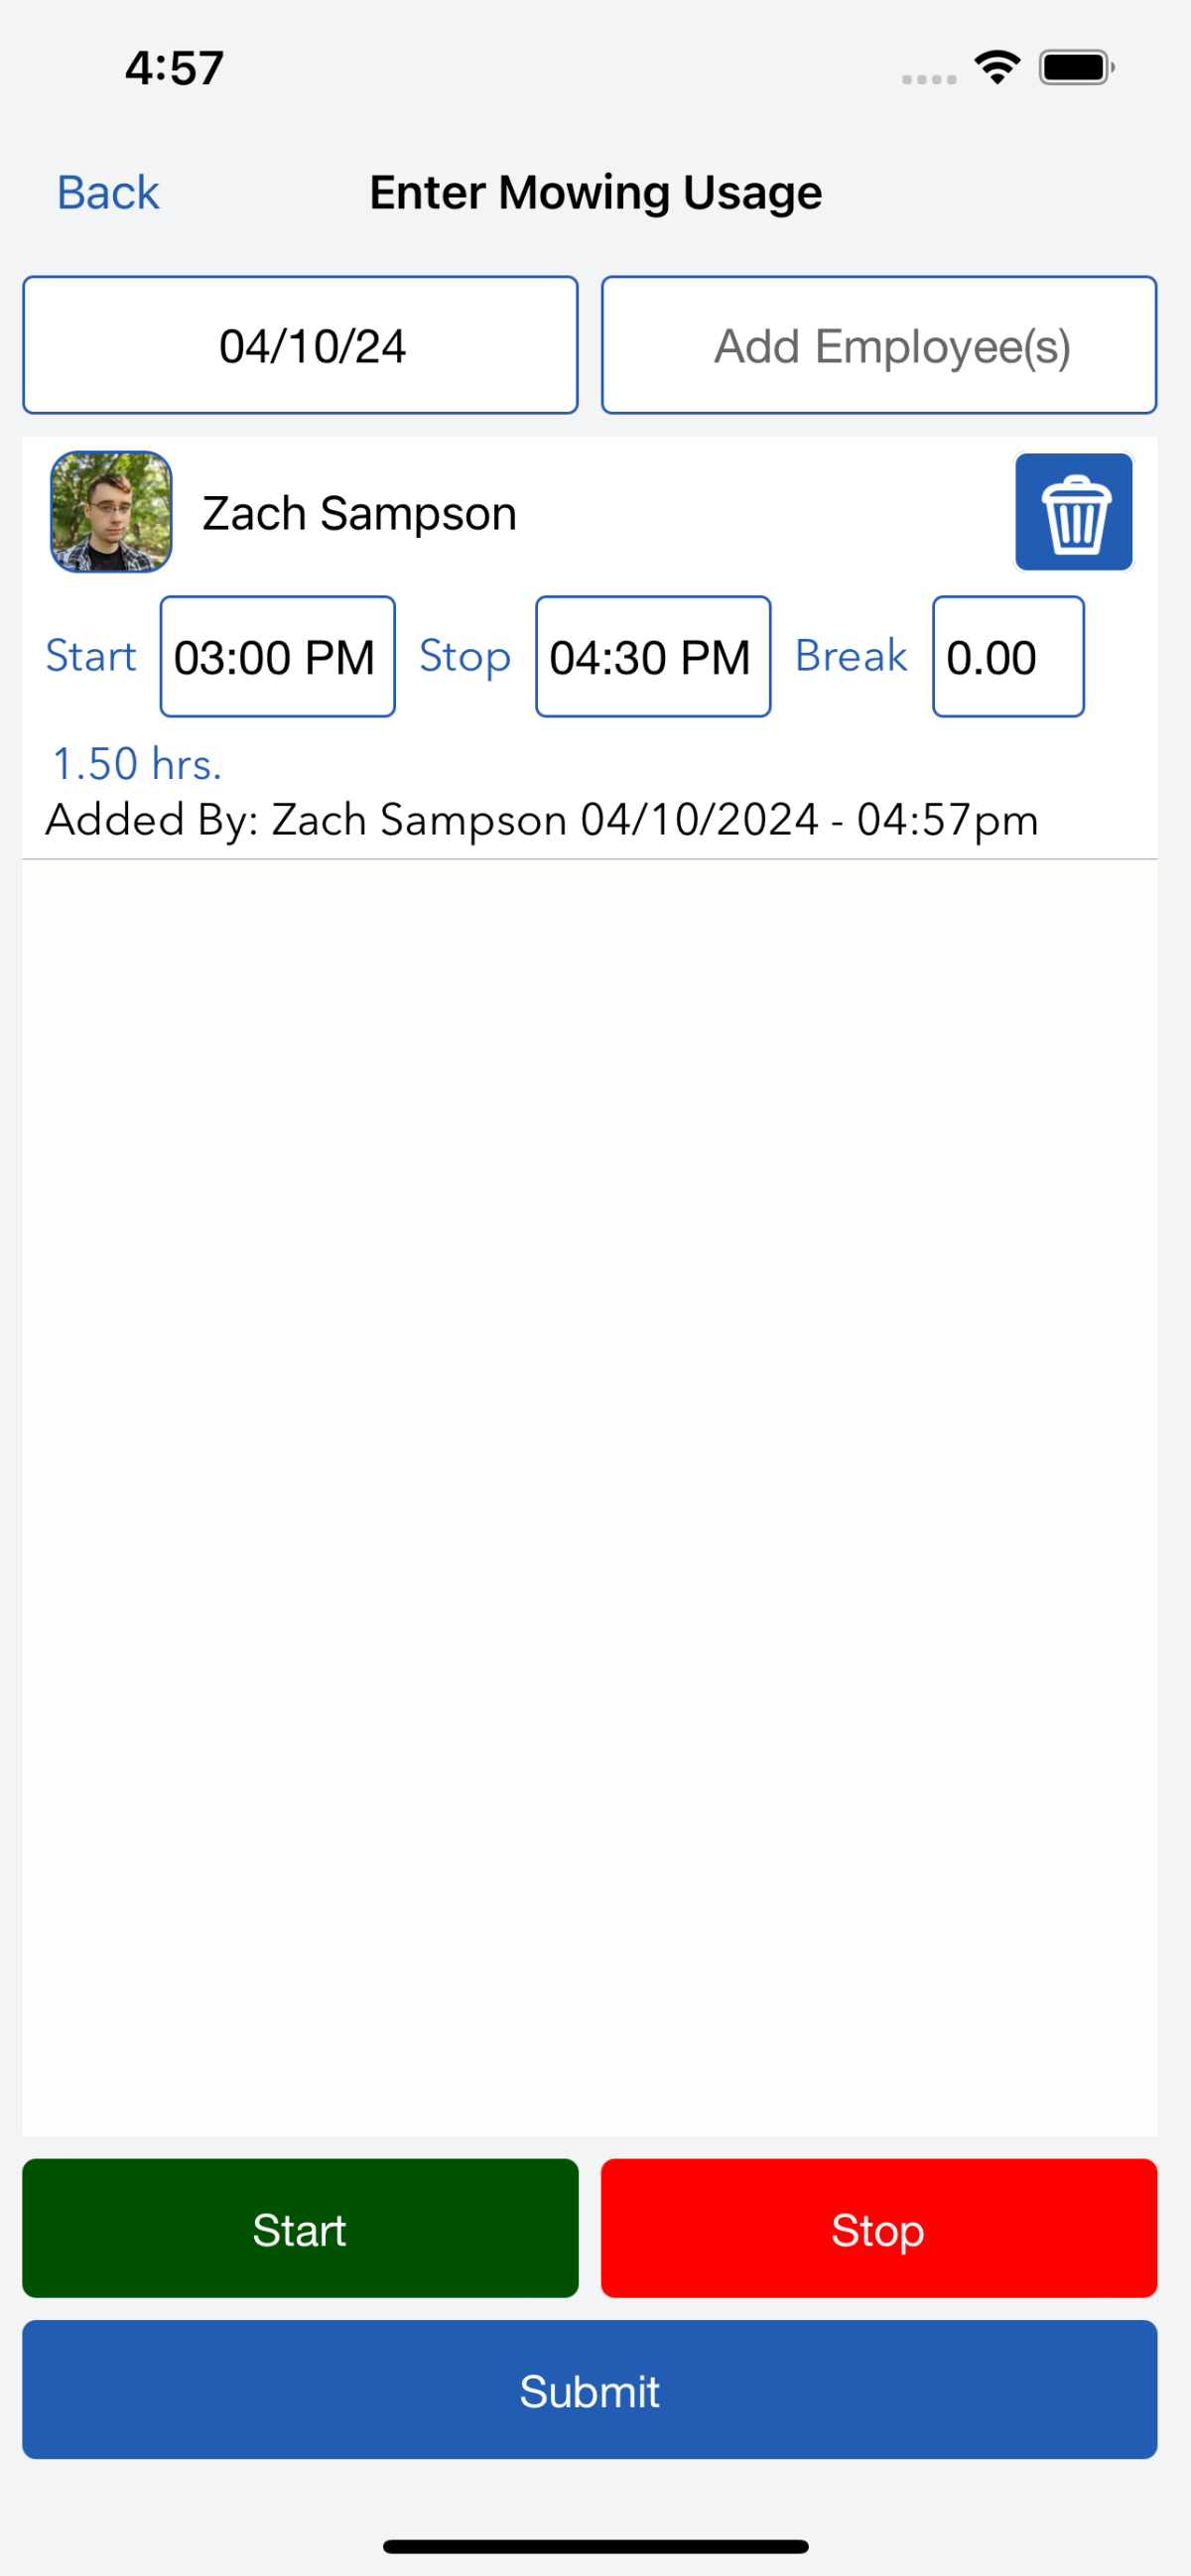
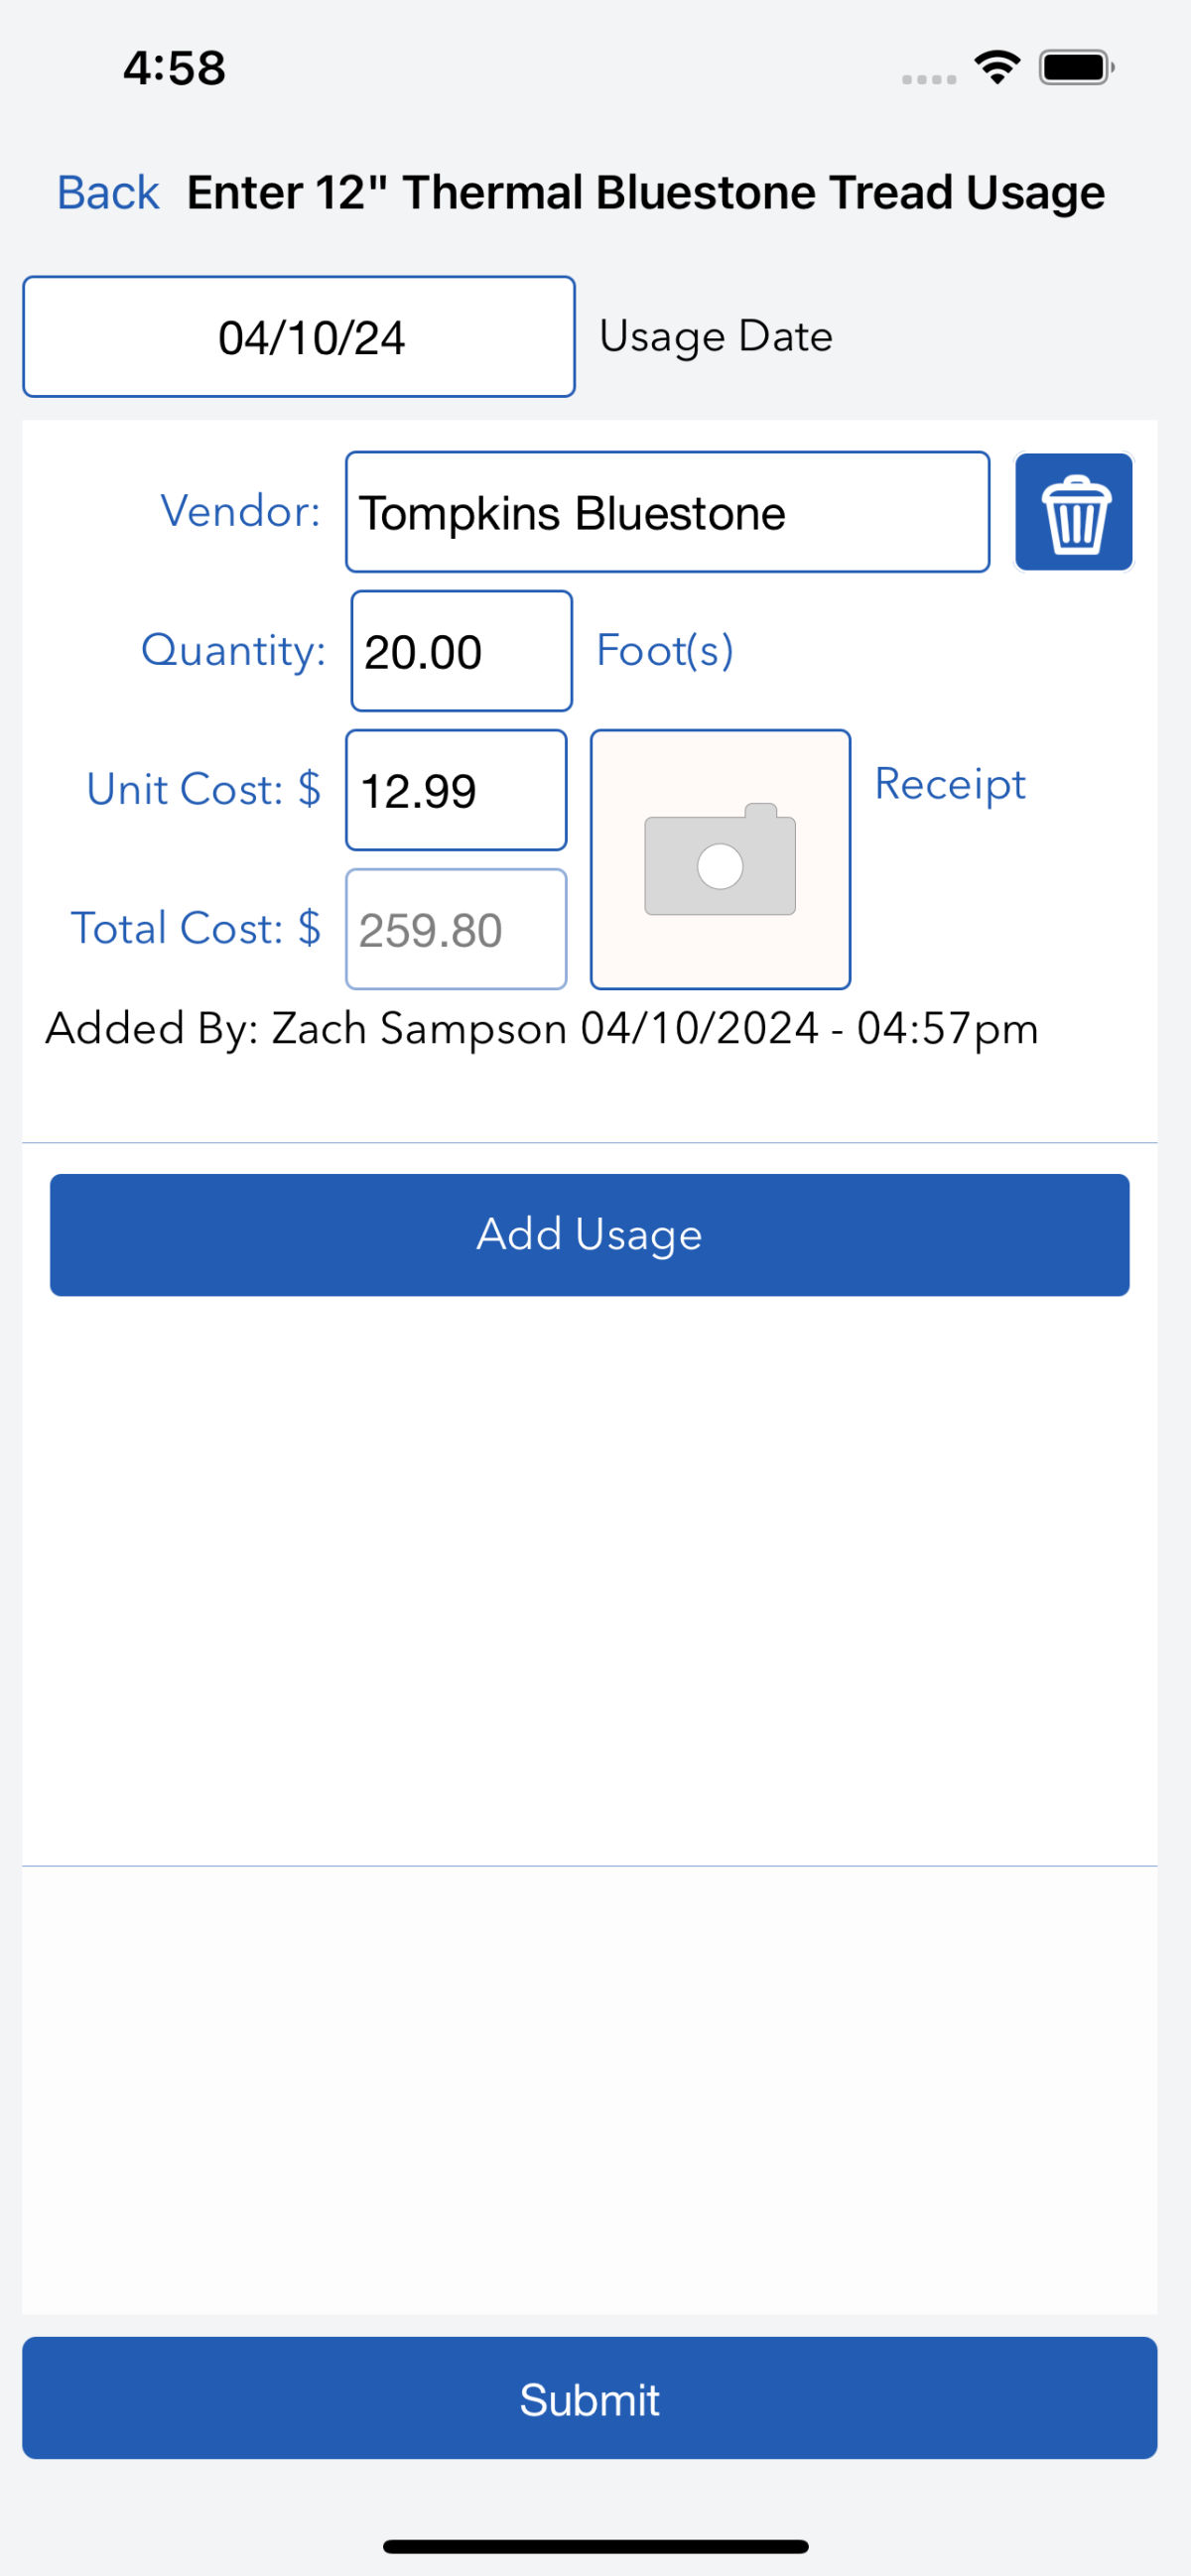
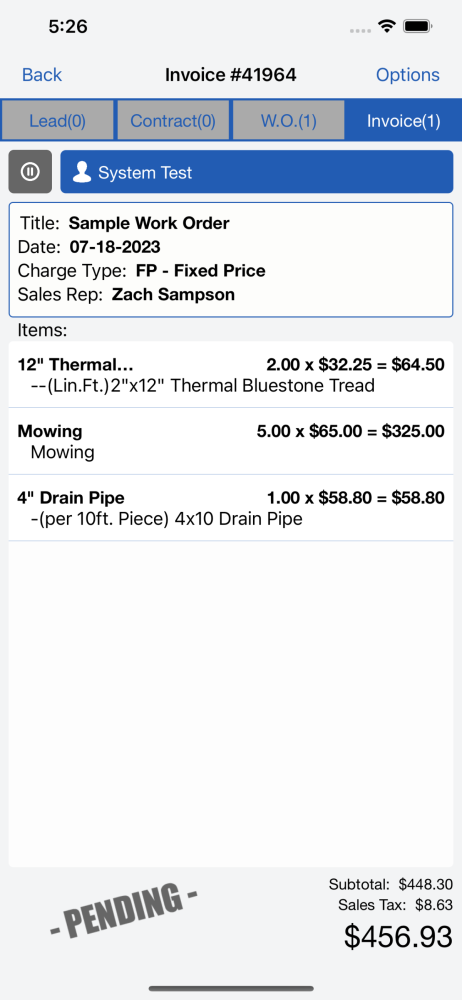
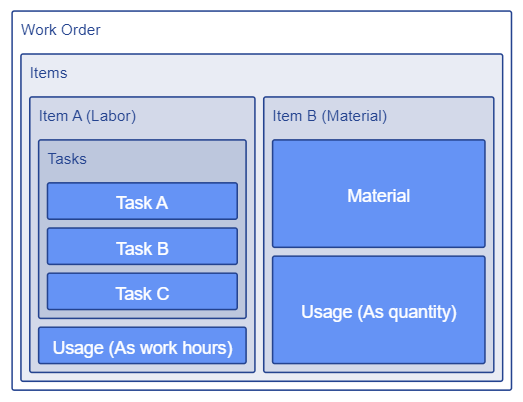 The structure of a work order
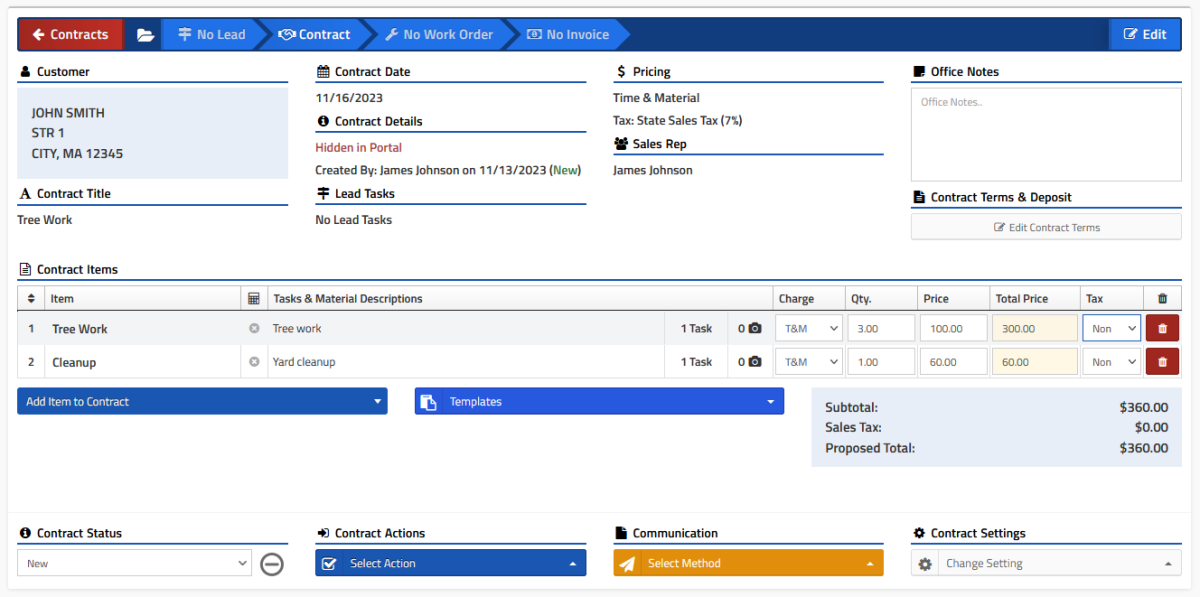